Your laptop keyboard is one of the most frequently used components of your device, making it prone to dust, dirt, and spills. A dirty keyboard can lead to unresponsive keys, accumulation of germs, and an overall unpleasant typing experience. Regularly cleaning your laptop keyboard will keep it in optimal condition and extend its lifespan.
In this guide, we’ll cover step-by-step instructions on how to clean a laptop keyboard safely and effectively.
Why Cleaning Your Laptop Keyboard is Important
A dirty keyboard isn’t just an eyesore; it can also cause several issues:
- Dust and debris buildup: Can lead to stuck or unresponsive keys.
- Germ accumulation: Keyboards are known to harbor bacteria, which can be a health hazard.
- Spilled liquids: Sticky residues can damage the keys and internal components.
- Reduced performance: A clogged keyboard can slow down typing speed and accuracy.
Things You’ll Need
Before you start cleaning your laptop keyboard, gather the following supplies:
- A soft microfiber cloth
- Compressed air can
- Isopropyl alcohol (70% or higher)
- Cotton swabs
- A small brush or an old toothbrush
- Sticky notes or cleaning gel
Step-by-Step Guide to Cleaning Your Laptop Keyboard
1. Turn Off and Unplug Your Laptop
Before cleaning your laptop keyboard, make sure to turn off the device and unplug it from the power source. This will prevent any accidental damage or short circuits.
2. Shake Out Loose Debris
Gently turn your laptop upside down and tap it lightly to dislodge crumbs, dust, and other particles trapped under the keys.
3. Use Compressed Air
A can of compressed air is one of the best tools for removing dust from a keyboard. Hold the can at an angle and spray short bursts of air between the keys to push out hidden debris.
4. Use a Small Brush or Toothbrush
For stubborn dust and dirt, use a small brush or an old toothbrush to sweep between the keys. Make sure to do this gently to avoid damaging the keys.
5. Clean Between the Keys with Sticky Notes or Cleaning Gel
Fold a sticky note in half (with the sticky side facing out) and run it between the keys to pick up dust and crumbs. You can also use a cleaning gel that molds into the spaces between the keys and lifts dirt.
6. Wipe the Keys with a Microfiber Cloth
Take a soft microfiber cloth and lightly dampen it with water or isopropyl alcohol. Wipe down each key carefully to remove grease, fingerprints, and smudges.
7. Use Cotton Swabs for Detailed Cleaning
Dip a cotton swab in isopropyl alcohol and clean around the edges of the keys. This is especially useful for removing sticky residue and stubborn dirt.
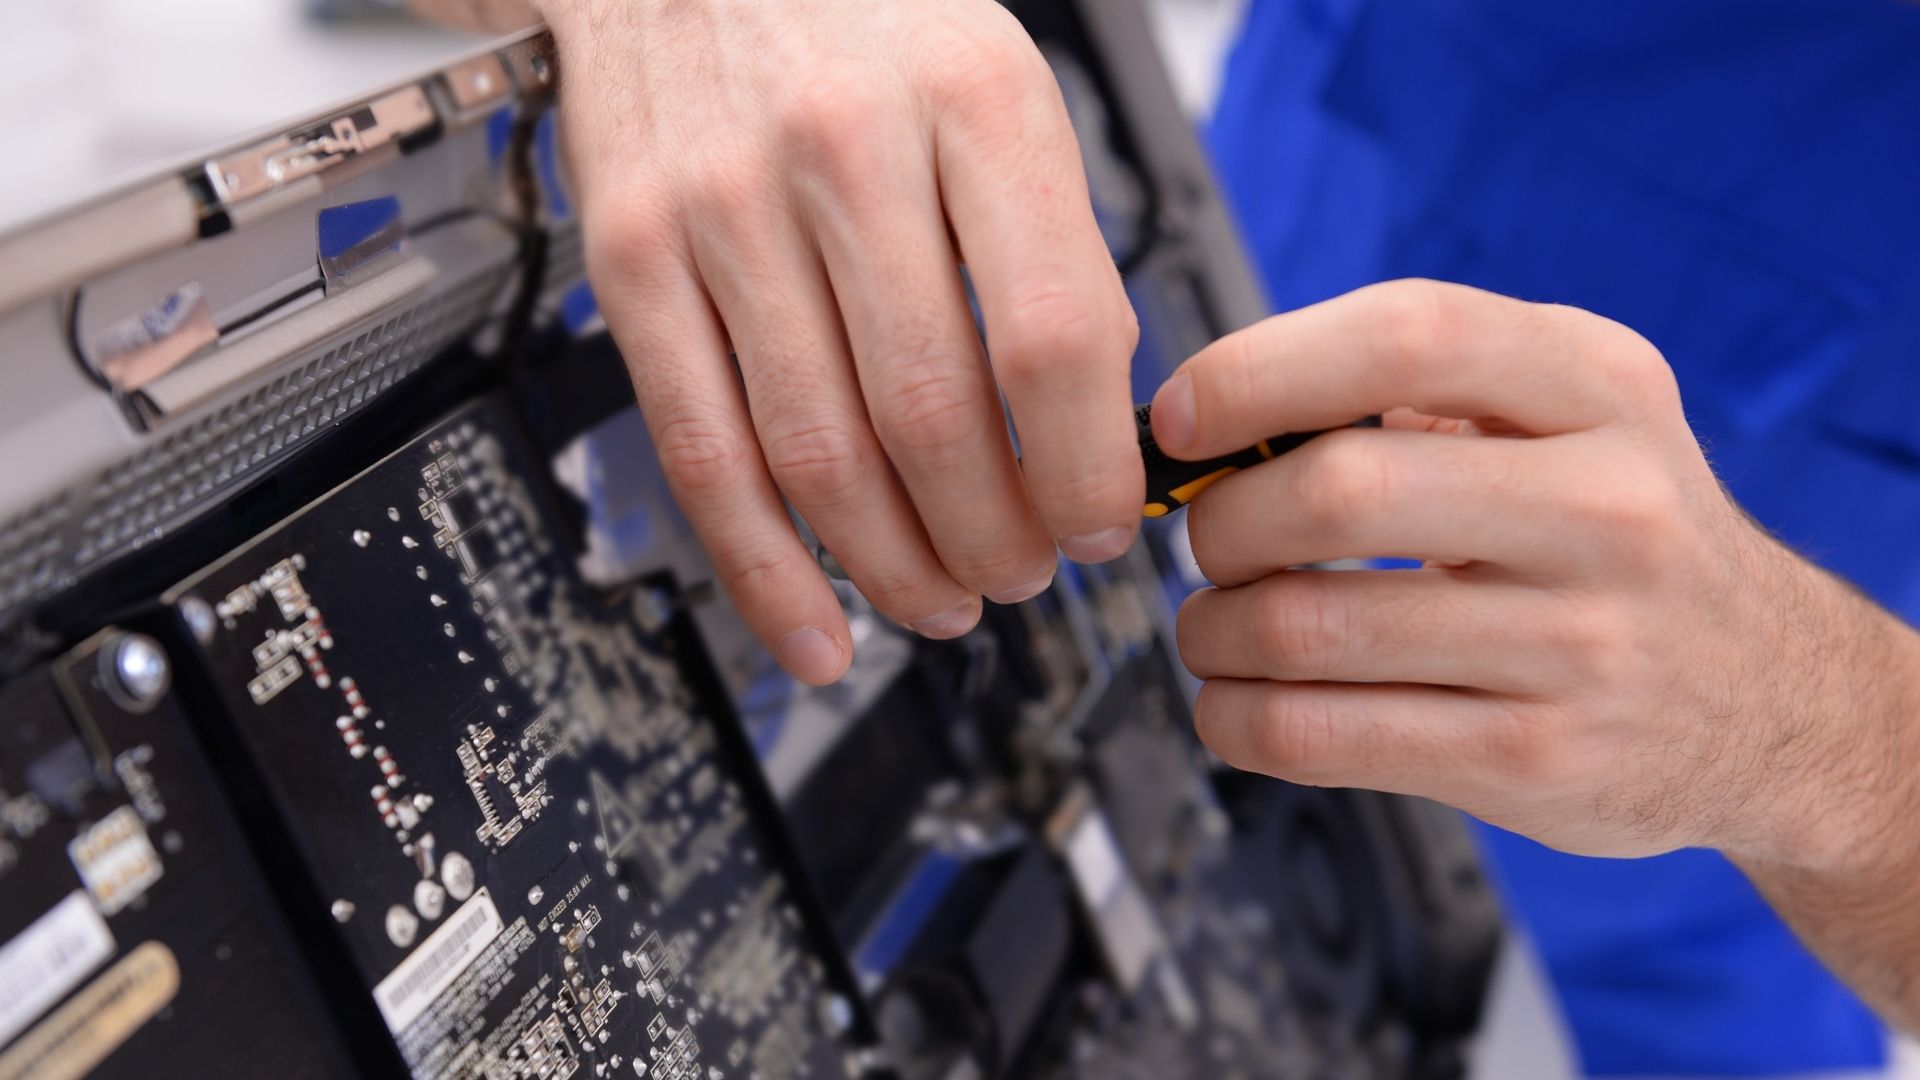
8. Deep Cleaning: Removing and Cleaning Individual Keys
Note: This step is optional and should only be done if your keyboard allows for key removal.
- Use a small flat tool or your fingernail to gently pop off the keycaps.
- Clean the underside of the keys with a microfiber cloth or cotton swab.
- Wipe the exposed keyboard surface carefully.
- Snap the keys back into place once they are completely dry.
9. Let the Keyboard Dry
Before turning your laptop back on, allow the keyboard to dry completely. This prevents moisture from causing damage to the electronic components.
10. Prevent Future Dirt Buildup
To keep your keyboard clean for longer:
- Wash your hands before using your laptop.
- Avoid eating and drinking near your keyboard.
- Use a keyboard cover for extra protection.
- Regularly wipe down the keyboard with a microfiber cloth.
Conclusion
Cleaning your laptop keyboard is essential for maintaining hygiene, functionality, and longevity. By following these steps, you can remove dust, dirt, and germs while preventing potential damage. A clean keyboard ensures a better typing experience and keeps your laptop in top shape.
Make it a habit to clean your keyboard regularly, and your laptop will thank you with smooth performance and durability!